The Seachem Tidal® Filter is very easy to set up! When you receive the filter, it is already partially assembled, and you will just need to add in some adjustable components to make the filter ready for your aquarium.
1. Open the box and view the pieces.
Assembling the filter will be easiest if you can see all the components at once. Some of these parts are quite small, so make sure not to lose them! When you open the box, you will see the instruction manual and the filter. Inside the filter are:
- A mesh bag of Matrix™ Biomedia, currently in a plastic bag
- A blue sponge
- A white box containing
- Heater clip
- Nut and screw of the leveling dial (2 parts)
- Telescoping intake (2 parts)
- White filter basket (set into filter - no need to remove this unless you are doing filter maintenance)
2. Remove the pump housing
This allows you to attach the heater holder and makes it easier to attach the leveling dial. It is also good practice for doing maintenance on the pump later on.
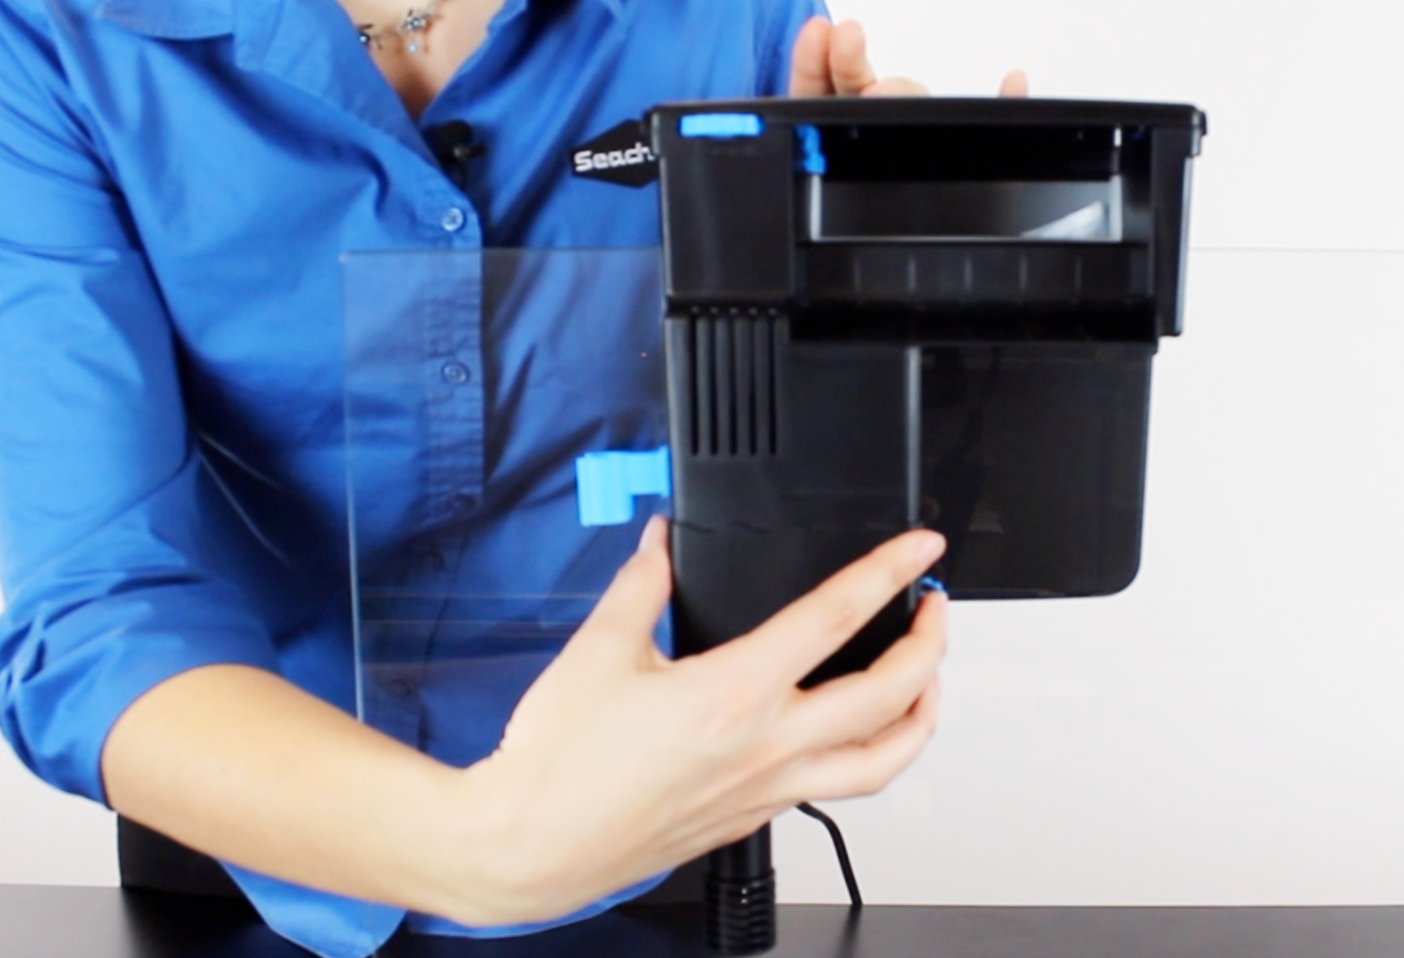
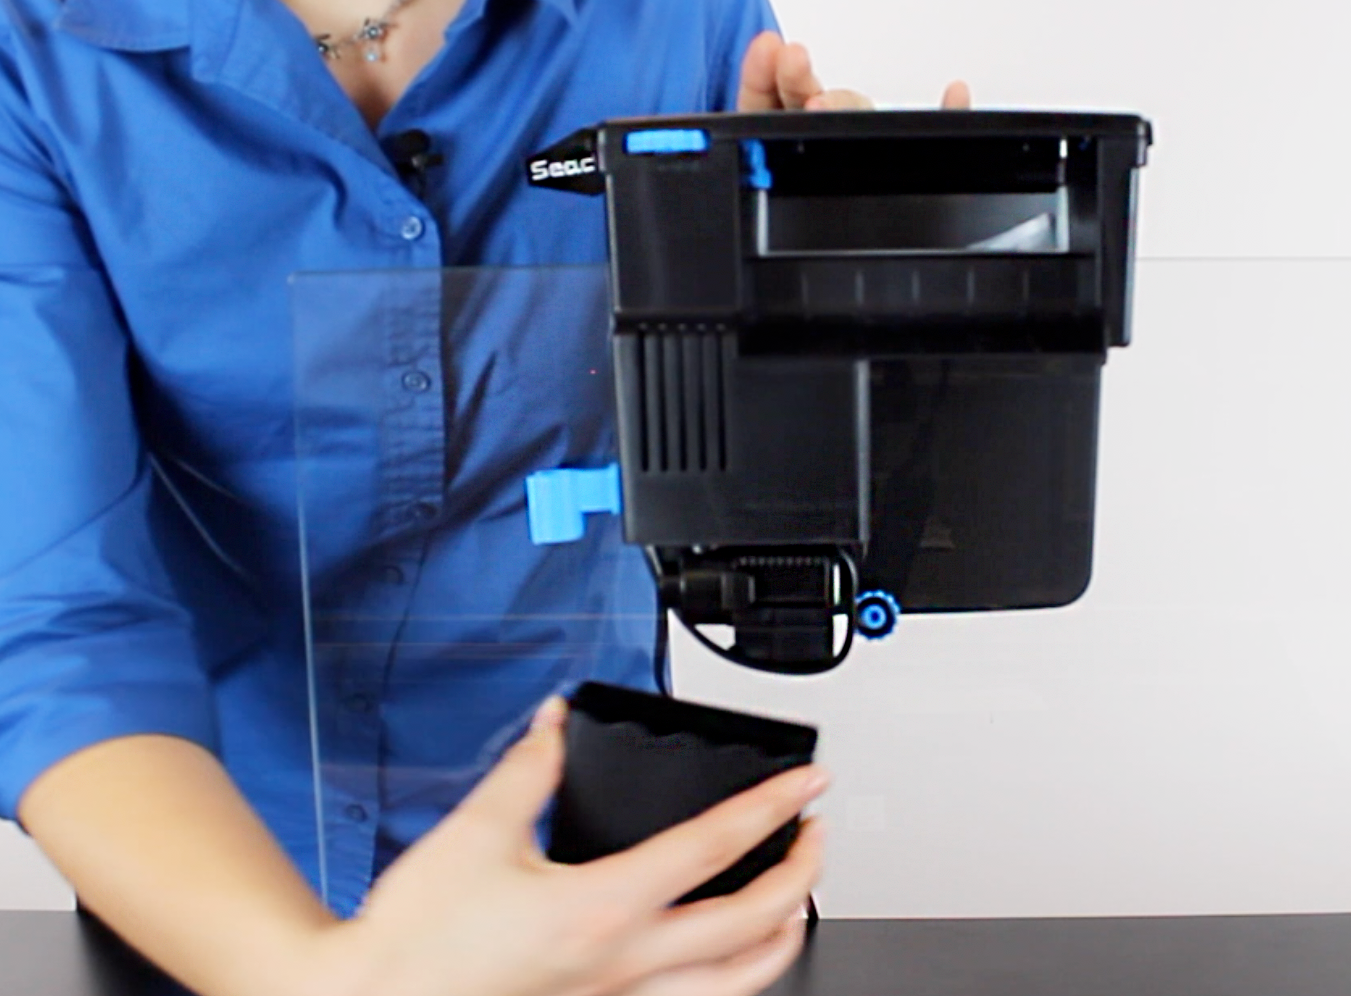
3. Attach the heater holder
This step is optional - the heater holder is not required for the filter to function properly, but it is required if you would like to attach a heater to the filter. Take the heater holder and slide it into the slot on the left side of the filter. Either side of the heater holder can face up, depending on how high you would like the heater to sit in the water.
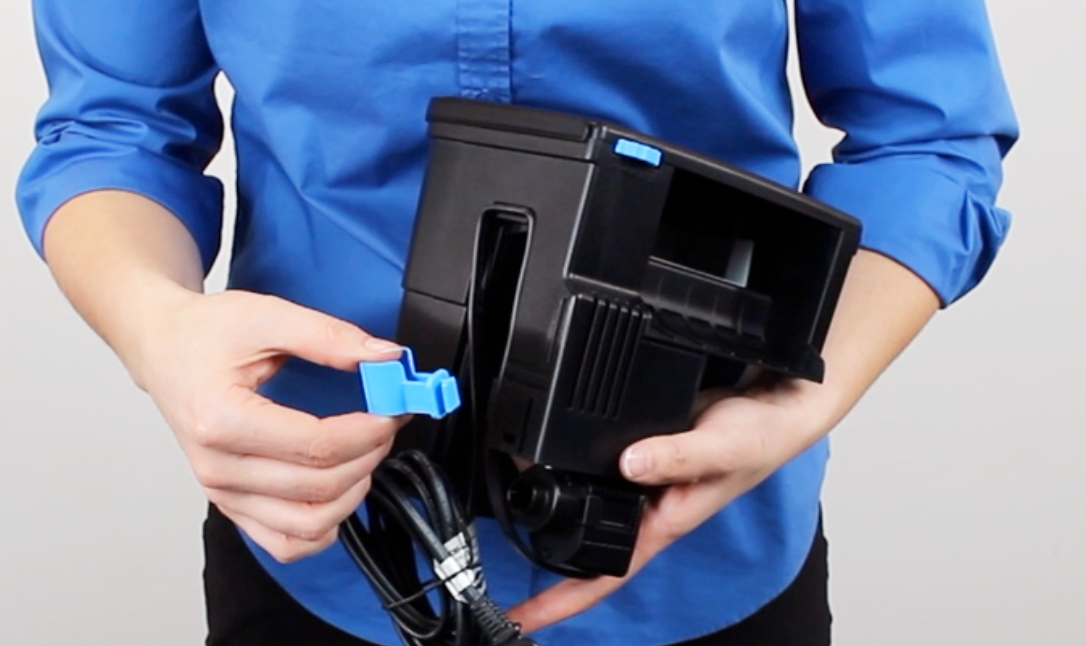
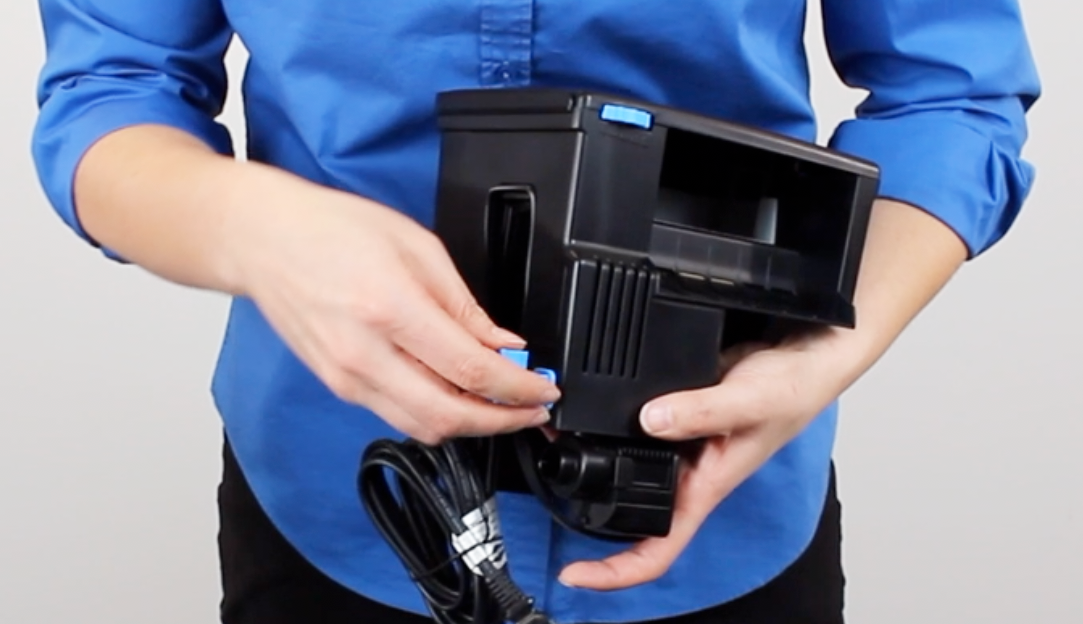
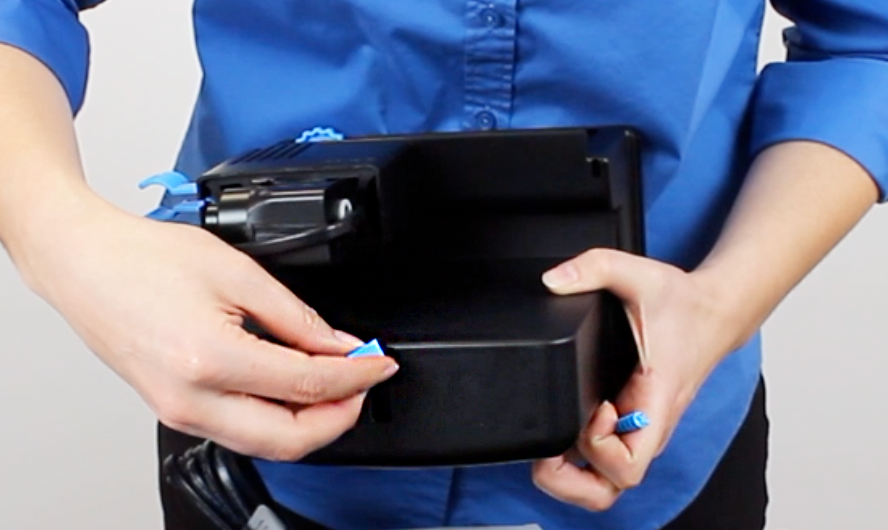
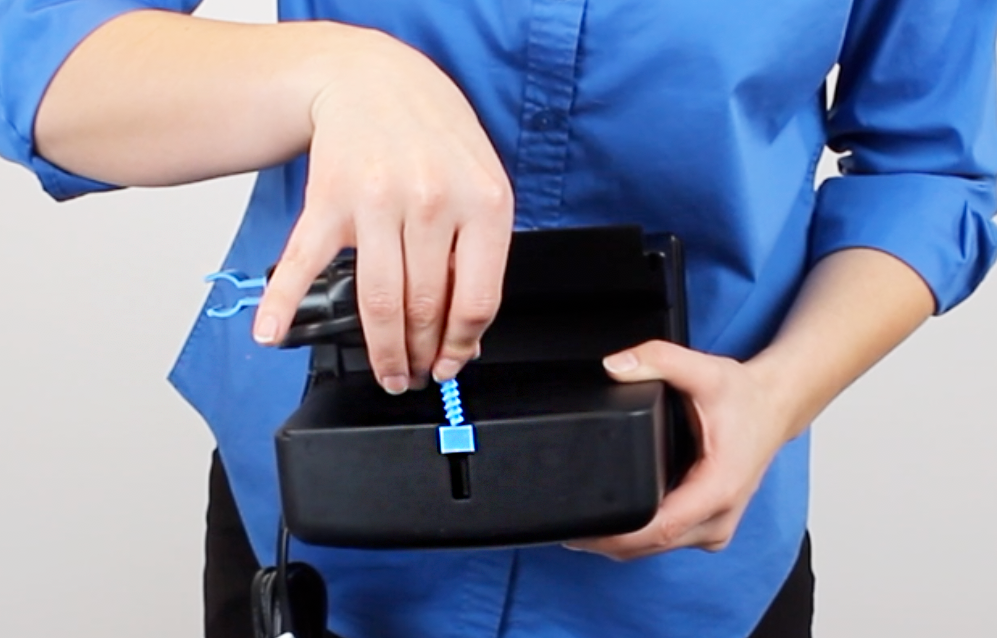
4. Attach the leveling dial
Insert the nut portion of the leveling dial into the slot on the bottom of the filter and screw in the "screw" portion of the leveling dial. Some customers find it easier to put the nut and screw together first and then insert it into the filter, particularly if the pump housing has not yet been removed. Screw the leveling dial all the way in so that the filter will be easier to place on an aquarium.
5. Reattach the pump housing
The filter should not be run with the pump housing removed.
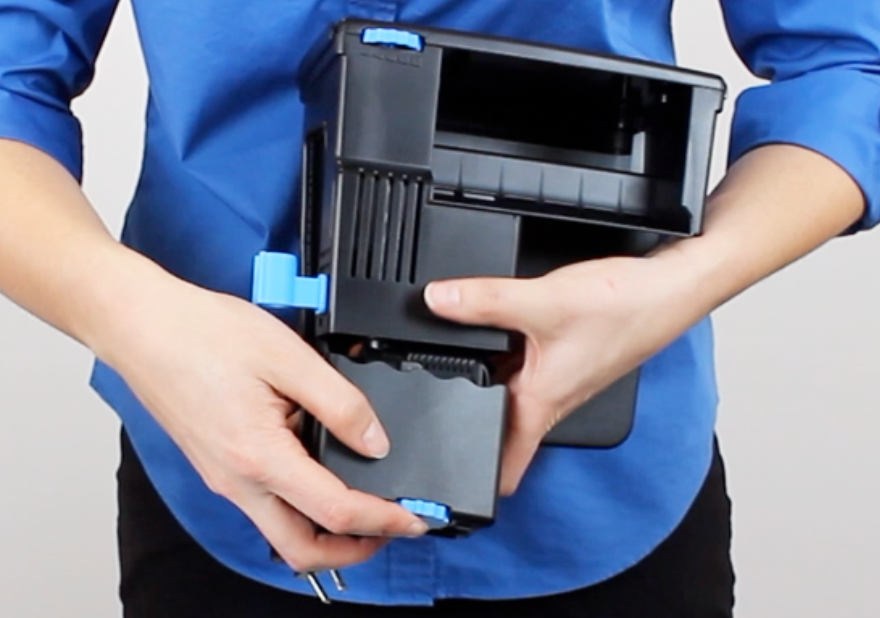
6. Fill the filter basket with filter media
At this point, you can optionally remove the filter basket in order to fill it with media. This is not required, but is good practice for when you will need to remove the basket in the future to do filter maintenance. After filling the basket, place it back in the filter and lock it in place.
Fill the basket with your preferred medias, making sure to rinse all medias first. Seachem® recommends that you fill your basket in this order:
Bottom Layer: Seachem Tidal Foam™ (included)
Middle Layer: Chemical Filter Medias (not included). Seachem® recommends MatrixCarbon™, Zeolite™, Purigen®, or phosphate absorbers as needed.
Top Layer: Seachem Matrix™ (included)
7. Assemble the telescoping intake tube and attach it to the filter
The telescoping intake tube is currently in two parts. Insert the thinner tube into the wider tube so that the tab on the wider tube clicks along the track on the thinner tube, and attach the other end of the wider tube to the pump housing. Do this step last before putting the filter on your aquarium as the telescoping intake tube makes it difficult to put the filter down on a flat surface
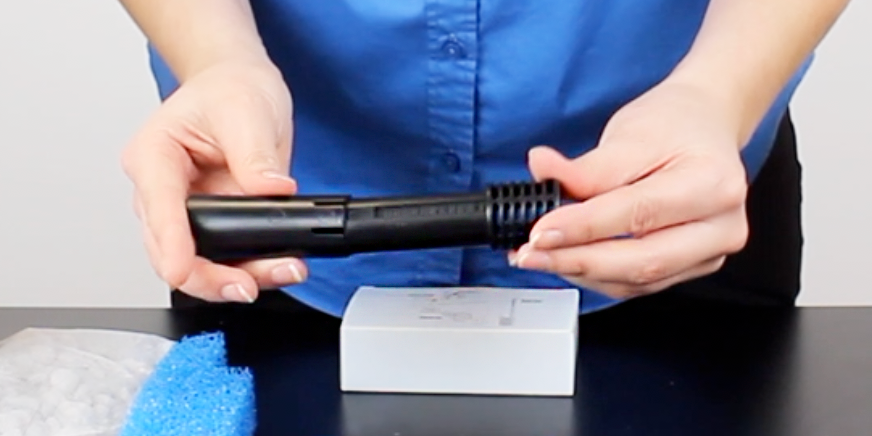
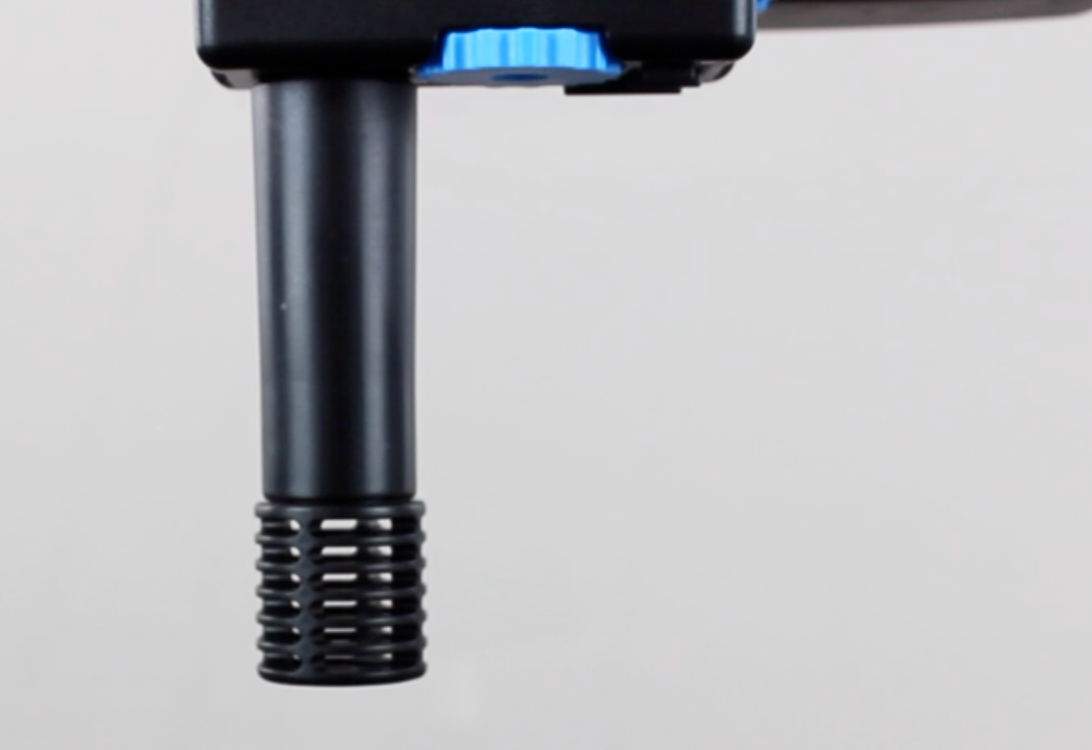
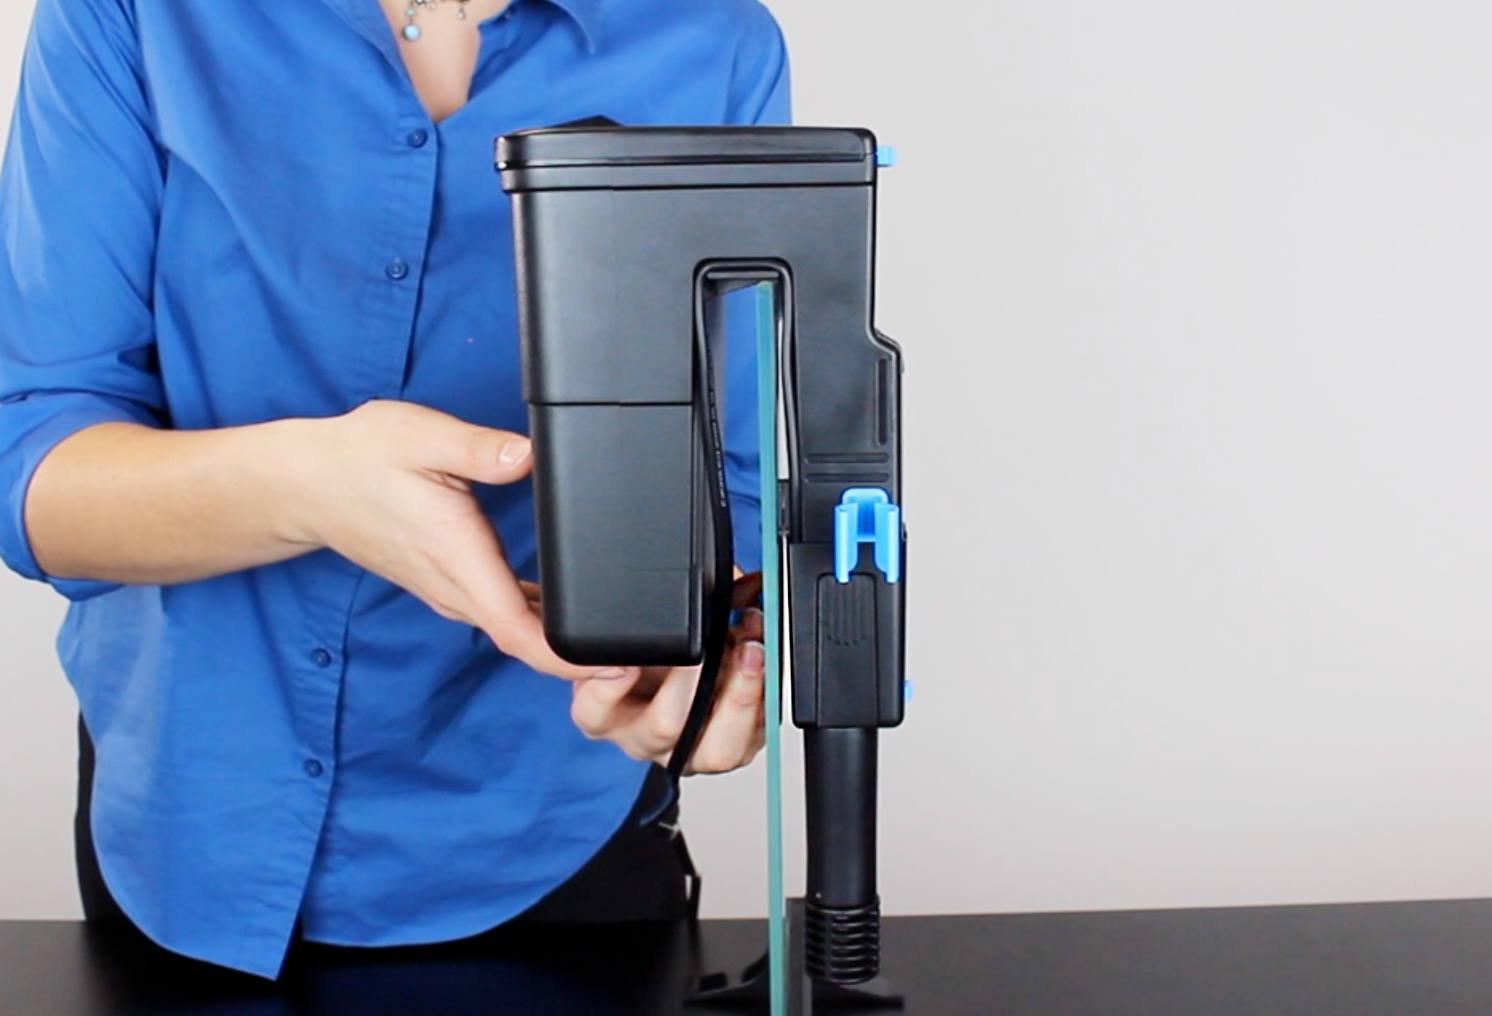
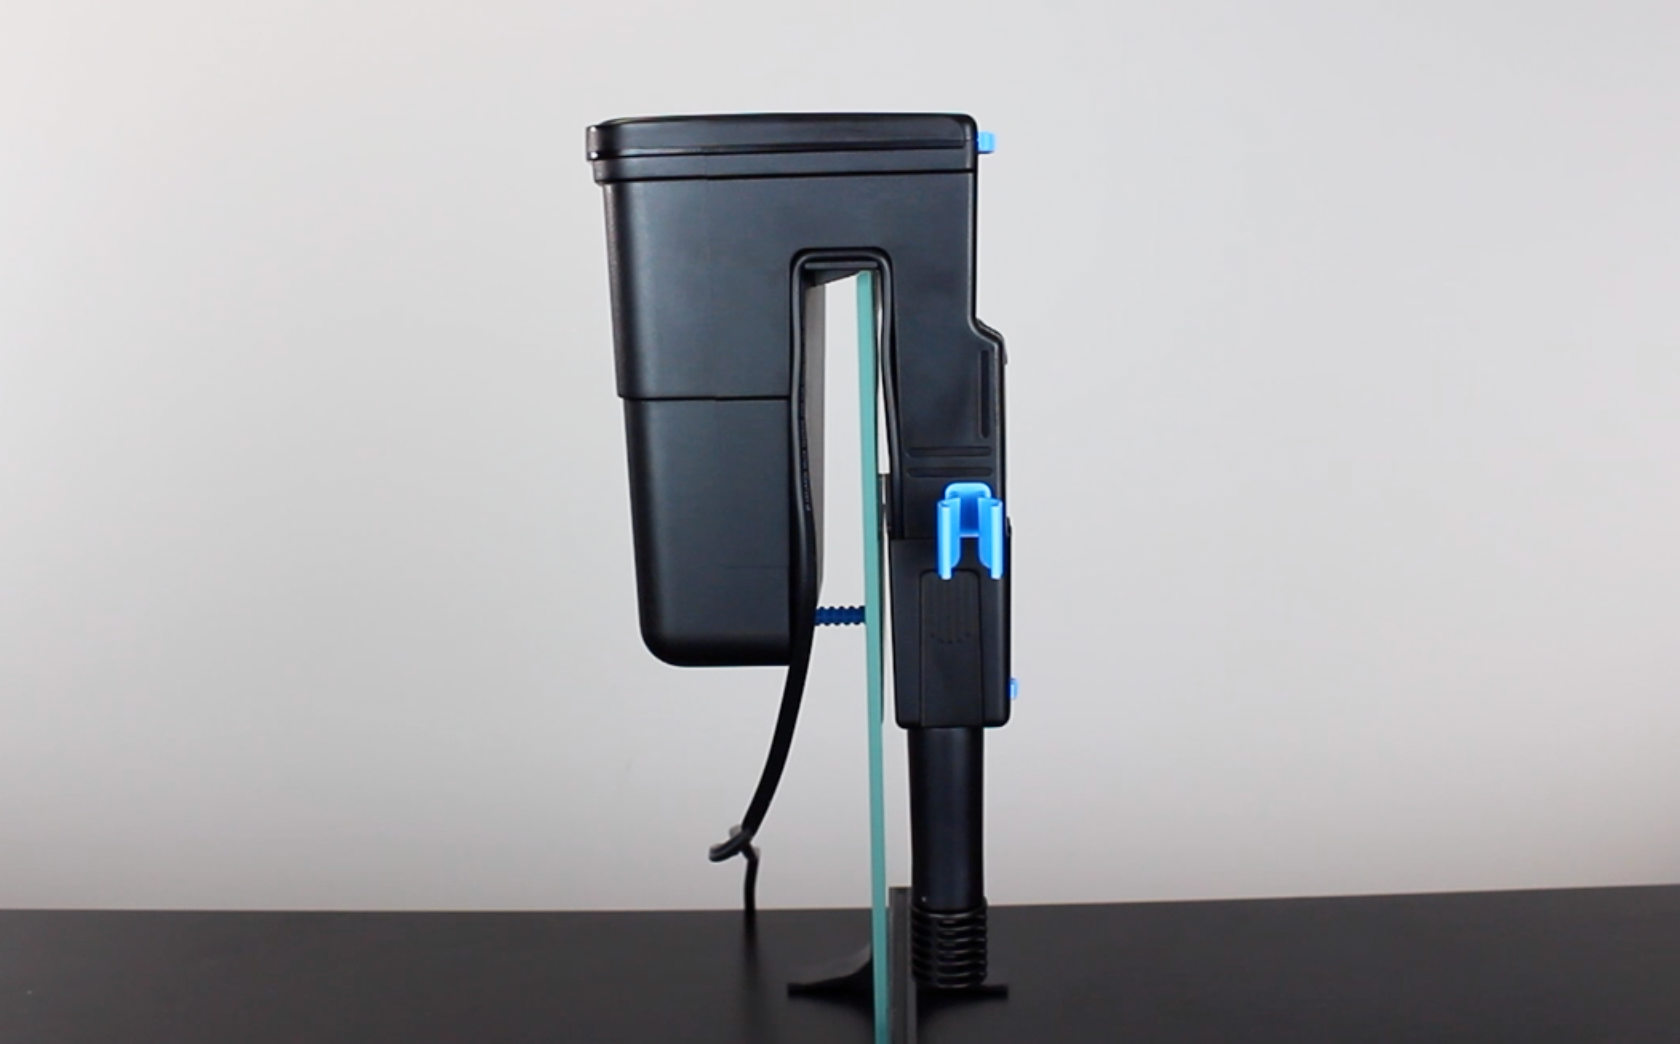
8. Place the filter on the aquarium and adjust the leveling dial
The filter should slip easily onto the rim of the aquarium, and from there you can adjust the leveling dial so that the filter sits level.
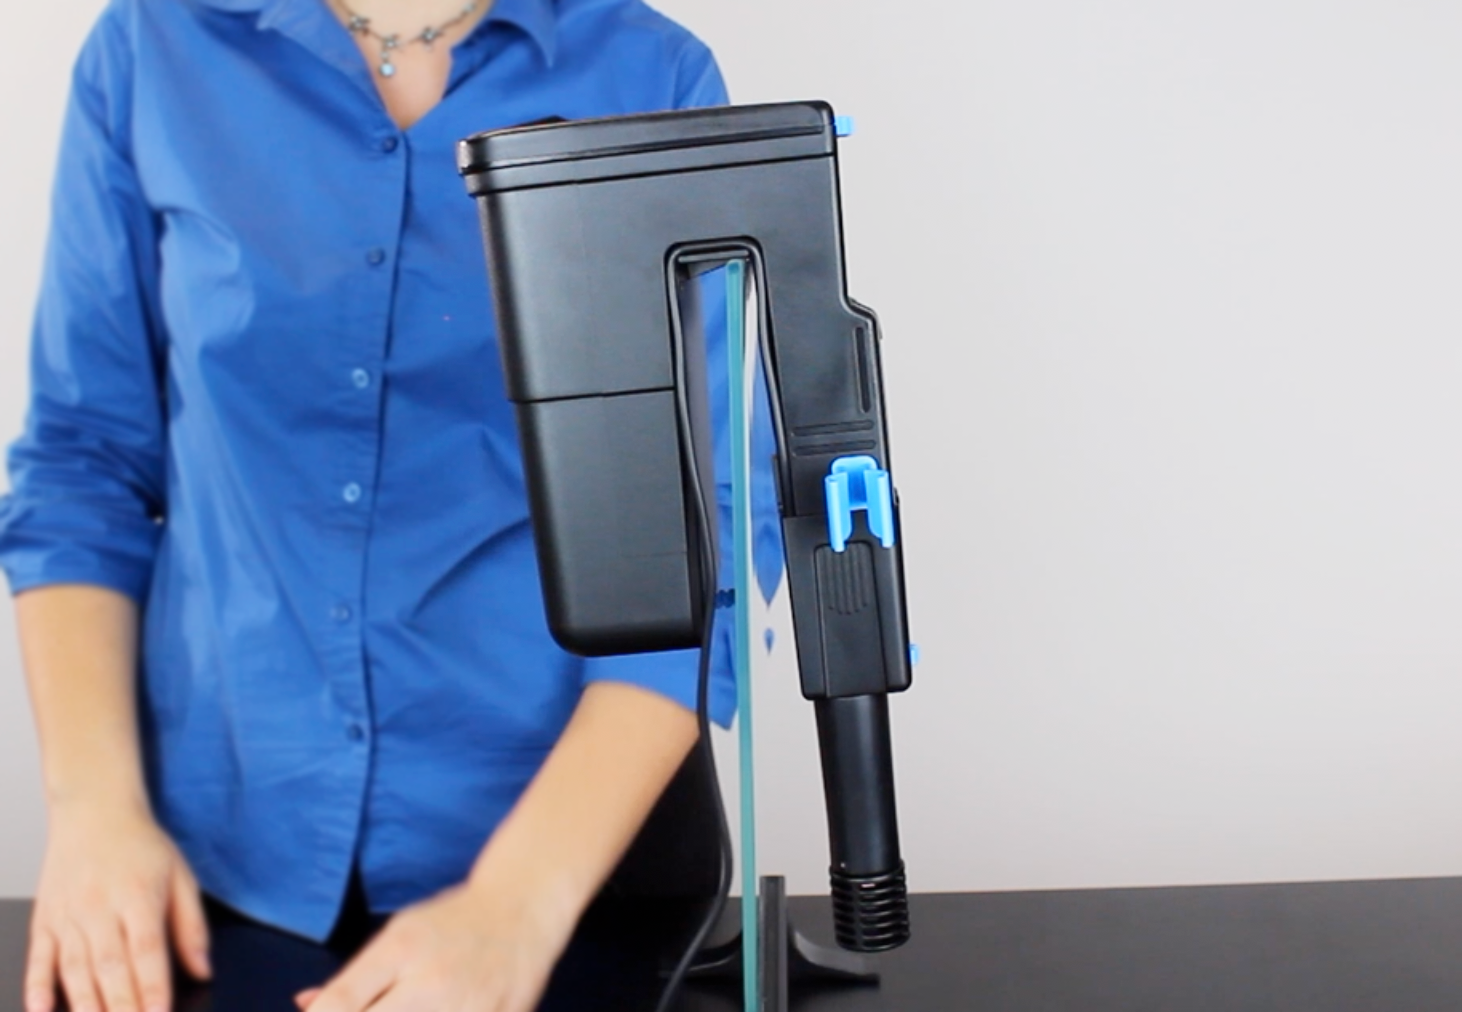
9. Start the filter
Ensure that the water in the aquarium reaches the minimum water level line on the filter and then plug the filter in, making sure to observe all safety precautions laid out in the instruction manual included in the box. The Tidal® Filters are self-priming, which means that as long as the water in the tank reaches the minimum water level line, the filter will start itself after being plugged in with no additional steps needed.
0 Comments